Note: All comments and opinions expressed on "MATLAB for everyone" are mine alone and do not necessarily reflect those of my employers, past or present.
Prerequisites
본 챕터의 내용을 더 잘 이해하기 위해선 아래의 내용을 알고 오시는 것을 추천드립니다.
drawnow
애니메이션을 만드는 기본 원리는 여러 개 그림들을 짧은 시간 마다 바꿔가며 보여주는 것이다. 따라서 기본적으로는 한 프레임의 그림을 보여주고 아주 짧은 시간 쉬기 위해 “pause” 함수를 이용할 수도 있지만 간단히 “drawnow” 함수를 이용해도 좋다.
아래는 단순한 예시이다.
close all;

x = linspace(0, 2*pi, 100);
axis;
xlim([0, 2*pi]);
ylim([-1, 1]);
hold on;

for i = 1:length(x)
    plot(x(1:i), sin(x(1:i)), 'ko')
    drawnow;
end

애니메이션 녹화
mp4 파일로 녹화
“VideoWriter” 함수와 “getframe” 함수를 조합하면 애니메이션을 “mp4” 파일로 저장할 수 있다.
close all;
figure('color','w');
peaks(25);

newVid = VideoWriter('my_video.mp4', 'MPEG-4'); % New
newVid.FrameRate = 60;
newVid.Quality = 100;
open(newVid);

for i = 0:0.5:359
    view(-37.5 + i, 30)
    drawnow;
    writeVideo(newVid, getframe(gcf)) % 0.5초씩 그리기

end

close(newVid)
gif 파일로 녹화
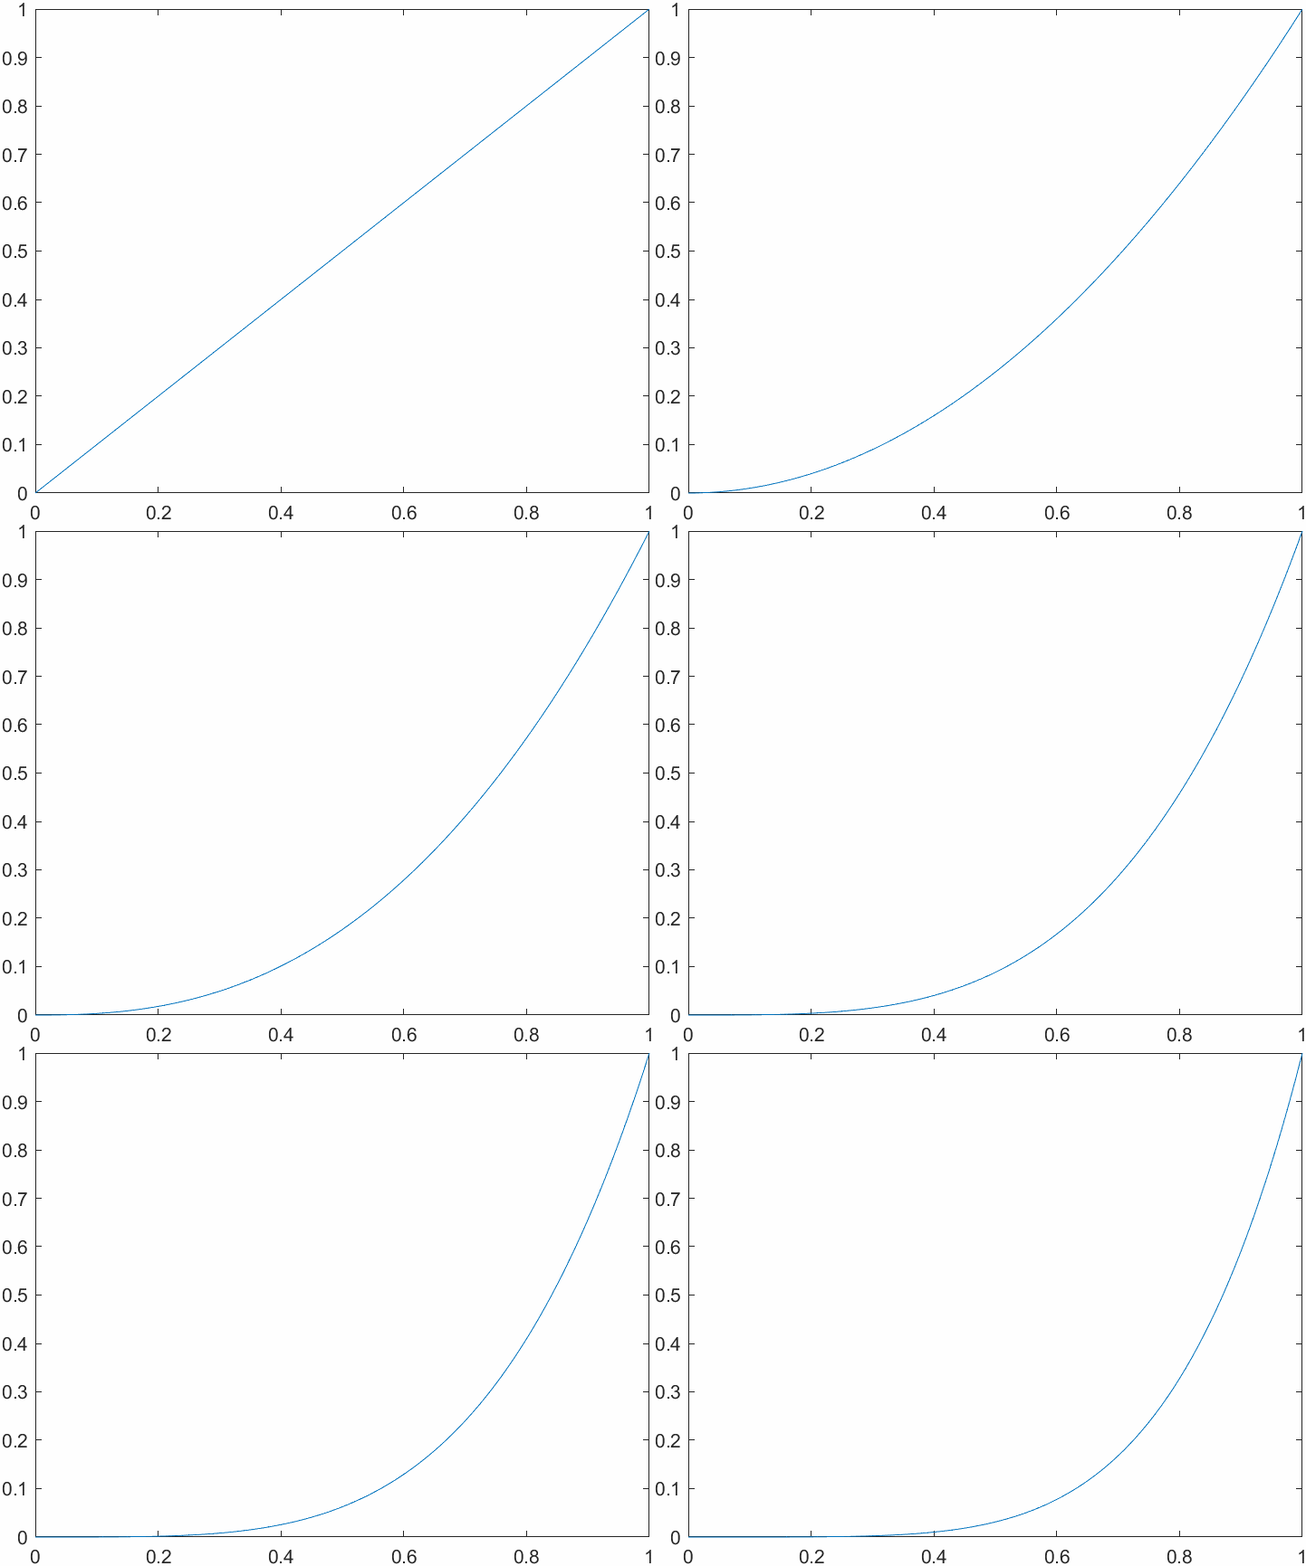
R2022a 버전부터는 “exportgraphics” 함수를 이용하여 “gif” 파일로 애니메이션을 녹화할 수 있다.
x = 0:0.01:1;
p = plot(nan,nan);
p.XData = x;
for n = 1:0.5:5
      p.YData = x.^n;
      exportgraphics(gcf,'testAnimated.gif','Append',true);
end

만약, R2022a 보다 더 이전의 버전을 이용하거나, gif 파일에 관한 더 세밀한 옵션 조정이 필요한 경우에는 “imwrite” 함수를 이용할 수 있다. 아래의 예시에서는 무한히 반복되는 gif 파일을 만들되, 프레임 당 소요 시간을 0.1초로 설정해보았다.
x = 0:0.01:1;
p = plot(nan,nan);
p.XData = x;
filename = 'testAnimated.gif';
for n = 1:0.5:5
    p.YData = x.^n;

    % exportgraphics(gcf,'testAnimated.gif','Append',true);

    frame = getframe(gcf);
    im = frame2im(frame);
    [A,map] = rgb2ind(im,256);

    if n == 1
        imwrite(A,map,filename,"gif","LoopCount",Inf,"DelayTime",0.1);
    else
        imwrite(A,map,filename,"gif","WriteMode","append","DelayTime",0.1);
    end

end